3D art is like that cool, mysterious cousin of traditional art forms. You know, the one who always seems to be one step ahead in the tech game. Born from the marriage of creativity and technology, 3D art involves creating visual content in three dimensions using specialized software. It’s used in various fields like video games, movies, architecture, and even virtual reality. Essentially, if you’ve ever marveled at the lifelike visuals in a blockbuster movie or the stunning environments in a video game, you’ve witnessed the magic of 3D art.
The Basics: Sculpting
Think of sculpting as playing with digital clay. It’s the process where artists shape their models, adding intricate details that breathe life into them. In the virtual world, sculpting is done using software like ZBrush or Blender. These programs offer tools that mimic traditional sculpting materials, letting artists push, pull, and smooth digital clay with precision.
Here’s a tip: patience is key. Like traditional sculpting, digital sculpting requires practice and a keen eye for detail. Start with basic shapes and gradually add complexity. And remember, just like in real life, Ctrl+Z is your best friend. Mistakes are just happy accidents that can be undone with a keystroke.
Illuminating Your Work: Lighting
Lighting in 3D art can make or break your scene. It’s not just about illuminating the subject but also setting the mood. Think of it as the virtual version of a romantic candlelight dinner. The right lighting can highlight textures, emphasize shapes, and give depth to your artwork.
When setting up your scene, consider using three-point lighting. This technique involves using a key light, fill light, and back light to create a balanced and dynamic look. It’s like having a mini sun, a reflector, and a halo all working in tandem to make your model pop.
Quick Lighting Tips:
- Experiment with different light intensities and colors to find the perfect ambiance.
- Use soft shadows to add realism to your scene.
- Consider the light source’s direction and how it interacts with your subject.
The Magic of UV Mapping
UV mapping sounds like something out of a sci-fi movie, but it’s actually a fundamental step in 3D art. It’s the process of projecting a 2D texture onto a 3D object. Imagine wrapping a gift: the wrapping paper is the texture, and the gift is your 3D model.
To master UV mapping, think of it as a puzzle. You need to unfold your 3D model into a flat surface without distorting the texture. Tools like Blender and Maya offer UV mapping features that help simplify this process. Practice makes perfect, and there are numerous tutorials available online that can guide you through the intricacies of UV mapping.
Rendering: The Final Frontier
Rendering is the grand finale of 3D art. It’s the process of converting your 3D model into a 2D image or animation with all its bells and whistles. It’s like baking your cake after hours of preparation. The rendering software calculates light interactions, textures, and shadows to produce the final image.
For realistic rendering, physics-based rendering (PBR) is your go-to technique. PBR simulates real-world lighting, ensuring that materials look accurate under different lighting conditions. To achieve this, you need to use high-quality textures and ensure that your lighting is spot on. Patience is crucial here, as rendering can be time-consuming and resource-intensive.
Rendering Tips:
- Optimize your scene by reducing unnecessary polygons and using efficient textures.
- Test renders at lower resolutions to save time and make adjustments.
- Utilize rendering farms or cloud services for high-quality renders without overloading your computer.
Creating Realistic Textures
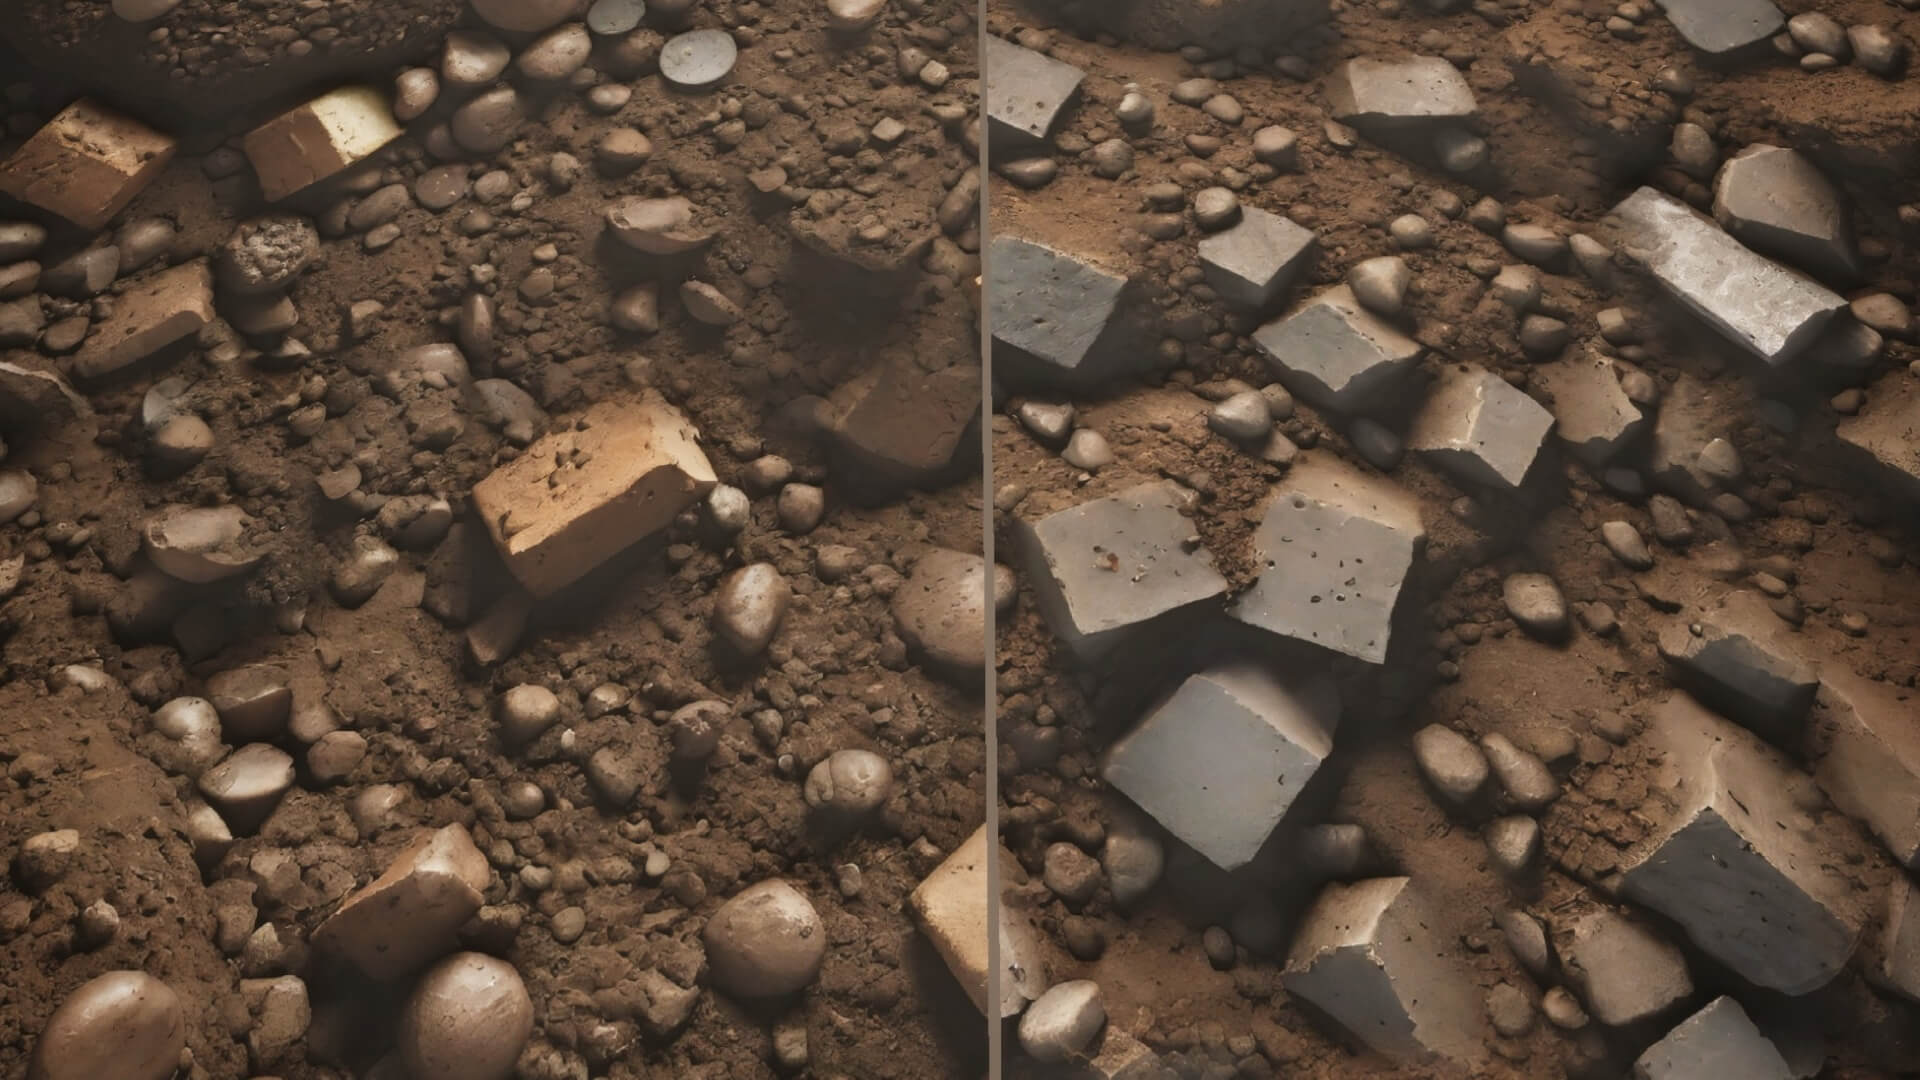
Textures are the makeup of your 3D model. They add color, detail, and realism to your creation. To create realistic textures, start by studying real-world materials. Notice how light interacts with different surfaces and try to replicate that in your textures.
Software like Substance Painter allows you to paint directly onto your 3D model, offering a more intuitive way to create detailed textures. You can also use high-resolution images as textures, but ensure they are seamless to avoid visible tiling.
Resources and Tutorials
Learning 3D art can be a daunting task, but fear not! The internet is brimming with resources to help you on your journey. Here are a few links to get you started:
- Blender Tutorials – A treasure trove of tutorials for beginners and pros alike.
- ZBrush Central – A community and resource center for all things ZBrush.
- Substance Tutorials – Learn the ins and outs of texturing with Substance Painter.
In the end, 3D art is a journey of creativity and technical skill. It’s about turning imagination into tangible (virtual) reality. So, put on your digital artist hat, fire up your software, and start creating masterpieces that could potentially blow people’s socks off—virtually, of course!